【Docker】Conoha VPSでOutline wikiをHTTPSで構築する【SSL】
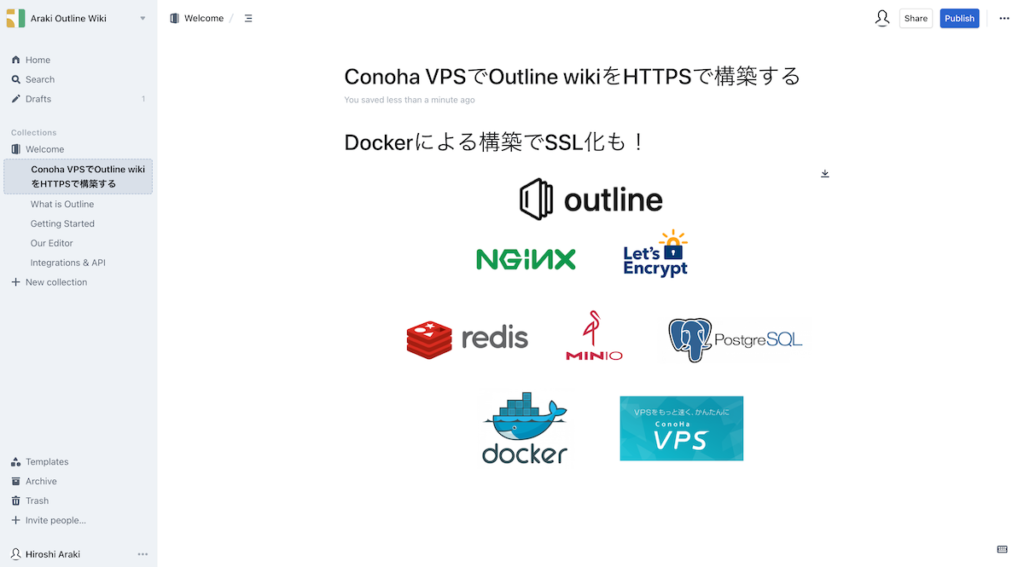
Outline Wiki
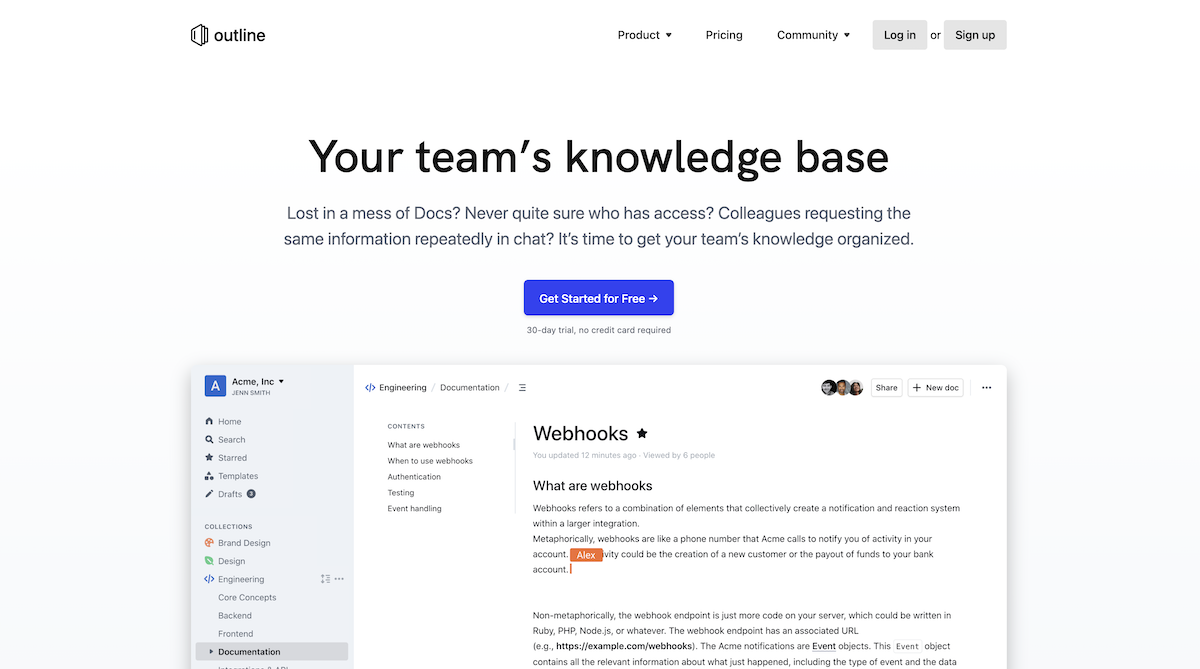
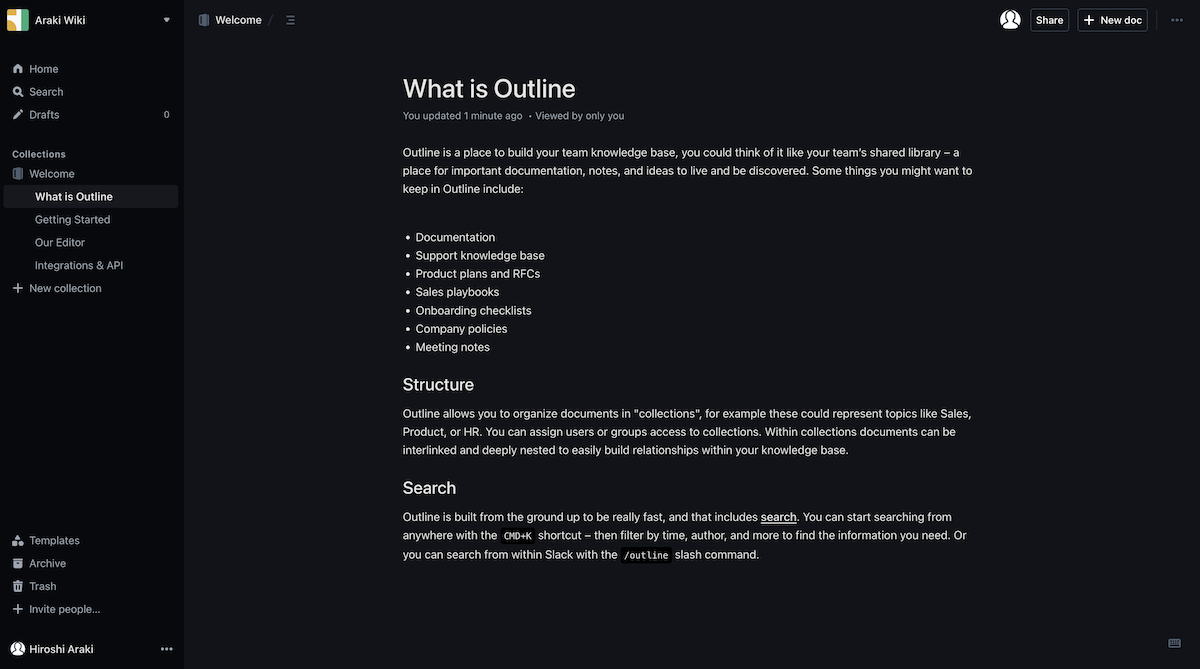
Outline はNotionライクなドキュメントツールで、大きな特徴としてOSSであることがあげられます。
つまり、自分のサーバで構築可能でNotionの有料プランのようにユーザ単位で課金が行われたりするのに比べ、ずっと自由度高く運用できます。
また、SlackやGoogle workspace、Azureなどの外部認証を利用できるので、社内のチームドキュメントツールとしても最適です。
“Dockerで構築できる”、と公式ドキュメントに書かれているのですが、なかなか情報が乏しく、構築難易度は高いように感じます。
私も苦戦しつつもなんとか構築できたので、そのノウハウをここに残します。
(“Outline” という名前が一般名詞すぎて、なかなか欲しい情報に辿り着けないのも痛い)
今回の目的
- ConoHa VPSでOutlineを構築すること
- 独自ドメインでアクセスできる
- SSL化しHttpsでアクセスできるようになること
- サーバレンタル代以外では課金が発生しないこと
です。
手順
すでに、ある程度自力で構築をしていて、何かしらのエラーで悩まされている人は、docker設定ファイル に飛んで参考にしてみてください。
① ConoHa VPSでサーバを建てる
今回はDockerアプリケーションとしてサーバを建てます。
デフォルトでOSはUbuntu 20.04 LTSとなるはずです。
このとき、IPアドレスを確認しておきます (以降 111.222.333.444 とします)。
また、SSHの設定もここでやっておくと楽です。
② DNS設定
私はConoHa Wingも契約しており、そこで独自のドメイン (以降は example.com) を契約していますので、今回はこのサブドメインを使っていきます。
コントロールメニュー > VPS > DNS から、example.com のレコードを編集します。
追加するのは、
| タイプ | 名称 | TTL | 値 |
| A | wiki | 3600 | 111.222.333.444 |
| A | minio | 3600 | 111.222.333.444 |
| A | minio2 | 3600 | 111.222.333.444 |
です。
全てVPSで建てているサーバのIPアドレスを割り当てます。
これで、wiki.example.com などのサブドメインが有効になりますが、浸透するまで少し時間がかかります (以降の操作をしているうちに浸透するでしょう)。
もし浸透したか確認する場合は下記のコマンドで確認します。
$ nslookup wiki.example.com
Server:		127.0.0.53
Address:	127.0.0.53#53

Non-authoritative answer:
Name:	wiki.example.com
Address: 111.222.333.444
のようなレスポンスであればDNSが通っています。
今回は wiki.example.com がOutlineのドメインとして使い、minio.example.com と minio2.example.com はこのあと出てくるオブジェクトストレージ (MinIO) 用です。
③ Slack APIでアプリケーションを作る
今回はSlackによる認証を使いたいと思います。
理由は、Google workspaceやAzureは課金が発生する可能性があるからです。
GitLabなどでも大丈夫ですが、Slackのアカウントがちょうどあるのでこれを使うことにしました。
公式ドキュメント を参照して、Client IDとClient Secretを取得しましょう。
このドキュメント内容には得に不足は無いですが、リダイレクトURLは今回の場合、https://wiki.example.com/auth/slack.callback となります。
(もちろん、example.com は各自変えてくださいね)
以降はそれぞれ、<slack-client-id> <slack-client-secret> と表記します。
また、Basic informationから、App IDとVerification Tokenもメモしておきます。
それぞれ、<slack-app-id>, <slack-verification-token> と表記します。
④ SSHで作業する
自分のPCからSSHでConoHa VPSのサーバに接続します。
$ ssh root@111.222.333.444 -i ~/.ssh/hogehoge.pem$ lsb_release -a
No LSB modules are available.
Distributor ID: Ubuntu
Description: Ubuntu 20.04.5 LTS
Release: 20.04
Codename: focal
上記はやる必要ないですが、Ubuntu 20.04 LTSがディストリビューションであることがわかります。
まずはパッケージの update & upgrade をしますが、私の環境だと apt upgradeが異様に遅かったので、取得先を別のミラーサイトに変更してから行います。
$ sudo sed -i.org -e 's|ports.ubuntu.com|jp.archive.ubuntu.com|g' /etc/apt/sources.list$ apt update & apt upgrade⑤ Outlineのインストール (本題)
さて、ここからが本題です。
まずはoutlineのソースを持ってきて、一応リリースタグにチェックアウトしておきます。
mainブランチは開発ブランチなようで、バグがある可能性があるためです。
$ git clone git@github.com:outline/outline
$ cd outline
$ git checkout refs/tags/v0.63.0
今回はちょっと古いですが、V0.63.0 を使いました。
提供されている、docker-compose.yml と .env.sample を参考に、オリジナルの docker-compose.ymlと docker.env を作ります。
docker-compose.yml
version: "3"
services:

  outline:
    image: outlinewiki/outline:0.63.0
    env_file: ./docker.env
    command: sh -c "yarn sequelize:migrate --env production-ssl-disabled && yarn start"
    ports:
      - "3000:3000"
    depends_on:
      - postgres
      - redis
      - storage

  redis:
    image: redis

  postgres:
    image: postgres
    #env_file: ./docker.env
    ports:
      - "5432:5432"
    environment:
      - POSTGRES_PASSWORD=outline
      - POSTGRES_USER=outline
      - POSTGRES_DB=outline
      - PGDATA=/var/lib/postgresql/12/main
    volumes:
      - database-data:/var/lib/postgresql/12/main:rw
    healthcheck:
      test: ["CMD", "pg_isready -U outline"]
      interval: 30s
      timeout: 20s
      retries: 3

  storage:
    image: minio/minio
    depends_on:
      - https-portal
    #env_file: ./docker.env
    ports:
      - "9000:9000"
      - "9001:9001"
    environment:
      - MINIO_ROOT_USER=outline
      - MINIO_ROOT_PASSWORD=outline-minio
    entrypoint: sh
    command: -c 'minio server /data --console-address ":9001"'
    deploy:
      restart_policy:
        condition: on-failure
    volumes:
      - storage-data:/data
    healthcheck:
      test: ["CMD", "curl", "-f", "http://storage:9000/minio/health/live"]
      interval: 30s
      timeout: 20s
      retries: 3

  https-portal:
    image: steveltn/https-portal
    env_file: ./docker.env
    ports:
      - '80:80'
      - '443:443'
    links:
      - outline
      - storage
    restart: always
    volumes:
      - https-portal-data:/var/lib/https-portal
    healthcheck:
      test: ["CMD", "service", "nginx", "status"]
      interval: 30s
      timeout: 20s
      retries: 3
    environment:
      DOMAINS: 'wiki.example.com -> http://outline:3000, minio.example.com -> http://storage:9000, minio2.example.com -> http://storage:9001'
      STAGE: 'production'
      WEBSOCKET: 'true'

volumes:
  https-portal-data:
  storage-data:
  database-data:
今回は下記5つのコンテナイメージを利用します。
- outline … 本体。今回は下調べして実績のあった V0.63.0を利用。
- redis … Remote Dictionary Server の略で、高速でオープンソースのメモリ内 key-value データストア
- postgres … PostgreSQL
- minio … MinIOと呼ばれる AWS S3と同じI/Fを持つオブジェクトストレージ
- デフォルトだとコンソールページのポートが毎回変わってしまうので、9001に固定します。
- https-portal … NginxとLet’s Encryptで自動的にSSL化をしてくれるコンテナ (大事)
- このとき、MinIOのアドレスもSSL化しておくことが大事です。
- そうしないとSSL化したOutlineと、非SSLのMinIOとのデータやり取りでエラーが生じます。
docker.env
まず下記コマンドを2回実行して出力された値をメモしておきます。
$ openssl rand -hex 321度目の出力、2度目の出力結果をそれぞれ <openssl-1>, <openssl-2> とします。
# –––––––––––––––– REQUIRED ––––––––––––––––

NODE_ENV=production
# NODE_ENV=production-ssl-disabled

# Generate a hex-encoded 32-byte random key. You should use `openssl rand -hex 32`
# in your terminal to generate a random value.
SECRET_KEY=<openssl-1>

# Generate a unique random key. The format is not important but you could still use
# `openssl rand -hex 32` in your terminal to produce this.
UTILS_SECRET=<openssl-2>

# For production point these at your databases, in development the default
# should work out of the box.
DATABASE_URL=postgres://outline:outline@postgres:5432/outline
DATABASE_URL_TEST=postgres://outline:outline@postgres:5432/outline-test
DATABASE_CONNECTION_POOL_MIN=
DATABASE_CONNECTION_POOL_MAX=
# Uncomment this to disable SSL for connecting to Postgres
PGSSLMODE=disable

# For redis you can either specify an ioredis compatible url like this
REDIS_URL=redis://redis:6379

# URL should point to the fully qualified, publicly accessible URL. If using a
# proxy the port in URL and PORT may be different.
URL=https://wiki.example.com
PORT=3000

# To support uploading of images for avatars and document attachments an
# s3-compatible storage must be provided. AWS S3 is recommended for redundancy
# however if you want to keep all file storage local an alternative such as
# minio (https://github.com/minio/minio) can be used.

# A more detailed guide on setting up S3 is available here:
# => https://wiki.generaloutline.com/share/125de1cc-9ff6-424b-8415-0d58c809a40f
AWS_ACCESS_KEY_ID=outline
AWS_SECRET_ACCESS_KEY=outline-minio
AWS_REGION=local
#AWS_S3_ACCELERATE_URL=
AWS_S3_UPLOAD_BUCKET_URL=https://minio.example.com
AWS_S3_UPLOAD_BUCKET_NAME=outline-bucket
AWS_S3_UPLOAD_MAX_SIZE=26214400
#AWS_S3_FORCE_PATH_STYLE=true
AWS_S3_ACL=public-read

# –––––––––––––– AUTHENTICATION ––––––––––––––

# Third party signin credentials, at least ONE OF EITHER Google, Slack,
# or Microsoft is required for a working installation or you'll have no sign-in
# options.

# To configure Slack auth, you'll need to create an Application at
# => https://api.slack.com/apps
#
# When configuring the Client ID, add a redirect URL under "OAuth & Permissions":
# https://<URL>/auth/slack.callback
SLACK_KEY=<slack-client-id>
SLACK_SECRET=<slack-client-secret>

# –––––––––––––––– OPTIONAL ––––––––––––––––

# Auto-redirect to https in production. The default is true but you may set to
# false if you can be sure that SSL is terminated at an external loadbalancer.
FORCE_HTTPS=false

# Have the installation check for updates by sending anonymized statistics to
# the maintainers
ENABLE_UPDATES=true

# How many processes should be spawned. As a reasonable rule divide your servers
# available memory by 512 for a rough estimate
WEB_CONCURRENCY=1

# Override the maximum size of document imports, could be required if you have
# especially large Word documents with embedded imagery
MAXIMUM_IMPORT_SIZE=5120000

# You can remove this line if your reverse proxy already logs incoming http
# requests and this ends up being duplicative
# DEBUG=http

# For a complete Slack integration with search and posting to channels the
# following configs are also needed, some more details
# => https://wiki.generaloutline.com/share/be25efd1-b3ef-4450-b8e5-c4a4fc11e02a
#
SLACK_VERIFICATION_TOKEN=<slack-verification-token>
SLACK_APP_ID=<slack-app-id>
SLACK_MESSAGE_ACTIONS=true

# The default interface language. See translate.getoutline.com for a list of
# available language codes and their rough percentage translated.
DEFAULT_LANGUAGE=en_US

# Optionally enable rate limiter at application web server
RATE_LIMITER_ENABLED=true

# Configure default throttling parameters for rate limiter
RATE_LIMITER_REQUESTS=1000
RATE_LIMITER_DURATION_WINDOW=60
雛形ファイルから不要な部分は省略していますが、そのまま残っていても大丈夫です。
⑥ 起動
docker-compose.ymlとdocker.envがあるディレクトリで起動します。
$ docker-compose up -d最初は時間がかかりますが、立ち上がったらまずはMinIOにBucketを作成します。
デフォルトではBucketが作られないようで、mc (MinIO Client) というコンテナを利用して起動時にBucketを作る方法もあるようですが今回は利用しませんでした。
https://minio2.example.com (または http://111.222.333.444:9000) にアクセスします。
outline : outline-minio というユーザでログインし、Bucket > Create Bucketを選択します。
Bucket名を “outline-bucket” にしておきましょう。
作成したBucketを選択しAccess policyを “public” にしておきます。

そうしたら、dockerをRestartします (しなくても良いかも)。
$ docker-compose restart下記コマンドでoutlineのログを見てみます。
$ docker logs outline-outline-1 -fしばらく待って、{"label":"lifecycle","level":"info","message":"Listening on http://localhost:3000"} というログが出たらひとまずOKです。
⑦ Outlineを利用する (完)
https://wiki.example.com にアクセスしてSlackでログインしてみましょう。
お疲れ様でした。
Trouble shooting
下記は私が遭遇したトラブル一覧です。
MinIOにログインできない
minioadmin : minioadminで一度ログインして、readwrite権限などを持たせたユーザを作成してみてください。
502 Bad gateway
おそらくまだOutlineが起動できていないので、待ちましょう。
$ docker logs outline-outline-1 -fでログを見てください。
画像がアップロードできない (Image Upload failed)
OutlineもしくはMinIOのSSL化ができていない可能性があります。
設定を見直してみましょう。
SSL化したURLと非SSLのページでコンテンツのやり取りが行われるとエラーが発生するためです。
Slackのログインボタンが出てこない。
“Login to Outline” という文字しか出てこない場合は、Slack認証がうまくいっていません。
リダイレクトURLが間違っていないか、またOutlineのSSL化がうまくいっていませんので、その辺りの設定を確認してみましょう。
PDFファイルや大きいサイズのファイルがアップロードできない
PDFファイルなどをアップロードした際に、Upload failedした場合は、そのファイルのサイズが1 MBを超えているかもしれません。
https-portal イメージではデフォルトで client-max-body-size を 1 MB としているようです。
一度下記のようにdisabledにしてみて再度確認してみてください。
https-portal:
  image: steveltn/https-portal
  # (略)
  environment:
    DOMAINS: # (略)
    STAGE: 'production'
    WEBSOCKET: 'true'
    CLIENT_MAX_BODY_SIZE: '0' # 追加行
おわりに
今回は、ConoHa VPSでDockerを用いたOutline wikiの構築、またSSL化を試してみました。
おそらく詰まる人も多いはずですので、私の情報が誰かの役に立てば幸いです。
一緒に快適なOutline ライフを送りましょう!
追記 (2023.02.14)
Outlineを0.67.2にアップデートしたところ下記の差分がありました。
# docker-compose.yml
  outline:
    image: outlinewiki/outline:0.67.2
    env_file: ./docker.env
    # command: sh -c "sequelize db:migrate --env production-ssl-disabled && yarn start"
    command: sh -c "yarn db:migrate --env production-ssl-disabled && yarn start"
# docker.env
# SLACK_KEY=<slack-client-id>
# SLACK_SECRET=<slack-client-secret>
# 上記はdeprecatedになったようで↓の表記が推奨
SLACK_CLIENT_ID=<slack-client-id>
SLACK_CLIENT_SECRET=<slack-client-secret>
参考にさせていただいたページ
- Hosting Outline – Outline
- Outline Wiki をホスティングする – Zenn
- Minio Setup with SSL / Nginx (https-portal) – Docker
- DNSを使う|ConoHa VPSサポート